Skip to main content
Search
Search This Blog
Kusina ni Manang
Posts
Showing posts from November, 2011
Show all
November 26, 2011
Canning: Atsarang Papaya (Pickled Green Papaya) Revisited
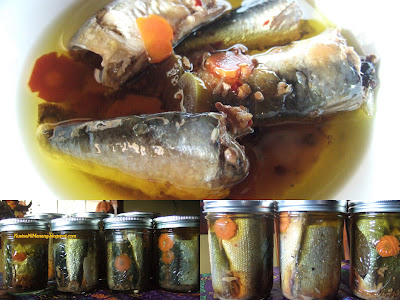
November 22, 2011
Canning: Sardinas/Bangus (Sardines/Milkfish) in Olive Oil
November 14, 2011
Tattler Reusable Canning Lids and Rubber Rings - a Product Review
November 10, 2011
Canning: Tomato Soup
November 07, 2011
Carrot Cake
November 05, 2011
Canning: Tomato Jam
November 03, 2011
Reader's Photo Gallery #20
Newer Posts
Older Posts
Home